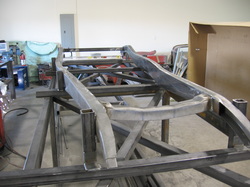
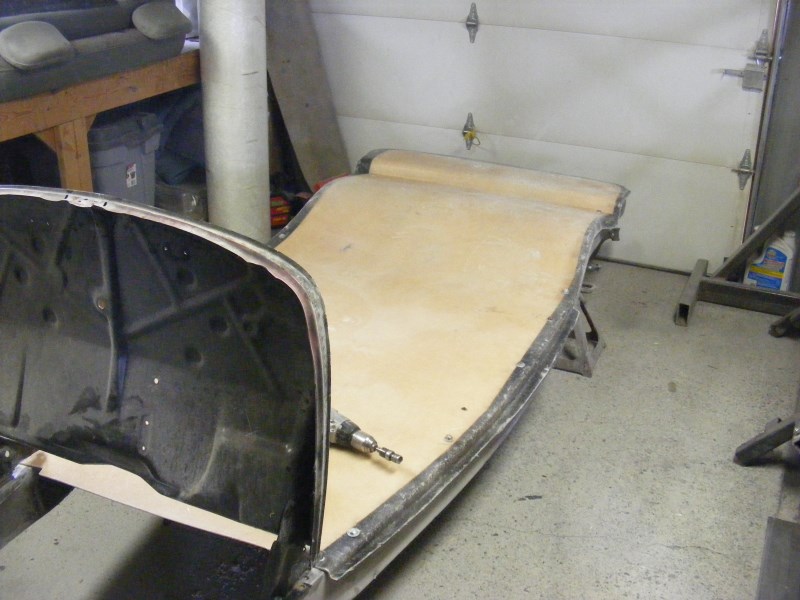
The rolling chassis starts with a frame being built on a rotisserie frame jig with American Stamping rails, boxing plates and fabricated crossmembers. About 3 days of welding and grinding to get the frame to a stage one state. From there the Body is hand laid in the mold with 3 rounds of 2OZ matt and ISO resin. It takes me about 3 days to a week to lay up the body before it comes out of the mold to rest on the frame. The floor is laid up with corematt to greatly stiffen it and is bolted to the frame before the body is lined up on an original steel firewall to align for lamination of body and floor together.
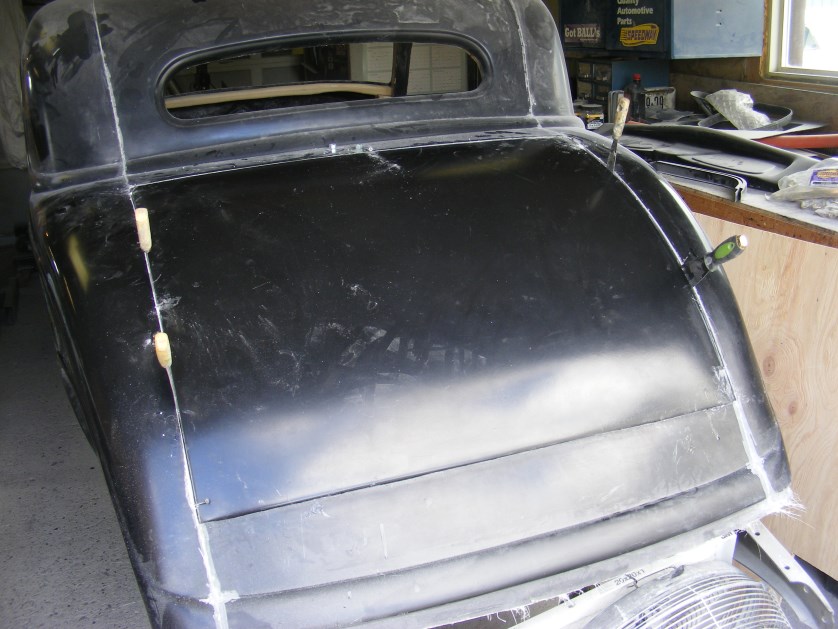
The deck lid inner and outer skins are made separately and laminated together on the body. First the inner skin is hung on the hinges, then when the outer skin is fitted flush and gapped to the opening they are glassed together. These are left to set up overnite and popped open in the morning.
This takes time but the fit is worth it. The door lines up well and opens and closes well also without worrying about fussin with the hinges to fix misalignment. Once the door sets overnight to assure it is a solid shell, it is taken off the body, put on an easel type of stand and then 3 more layers of glass stick inner and outer skins together on the inside of the door. Taking more time, this is a better door than glued together doors because of the amount of fiberglass making the shell real solid. The door is all one piece now and would have to be destroyed to separate.
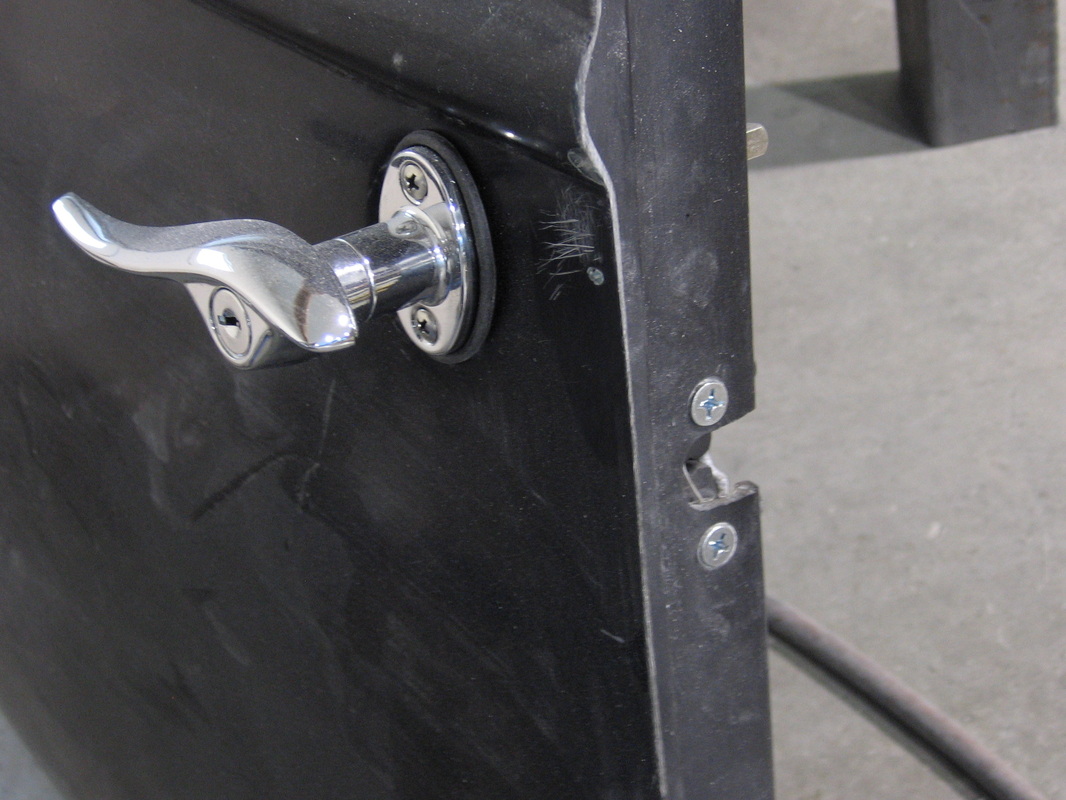
Bearjaw latches go into the doors doors. I can put the latches in the door, jam, or do keyless entry. Your choice. I personally like the door handles, a beautiful piece that looks right on the car, they don't make door handles like this on new cars.
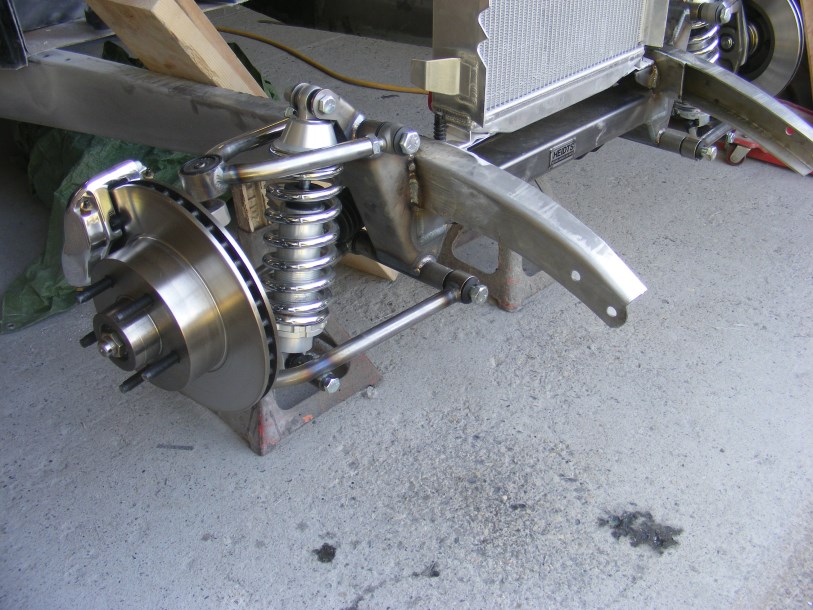
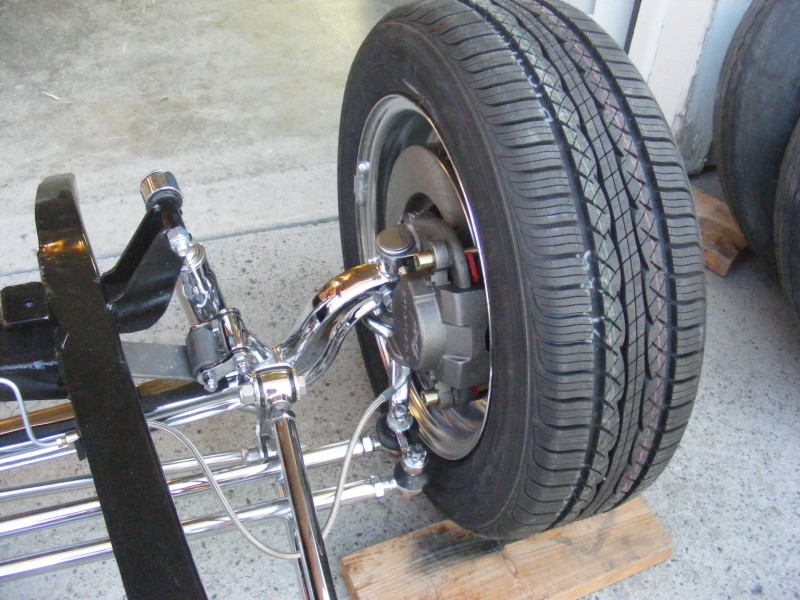
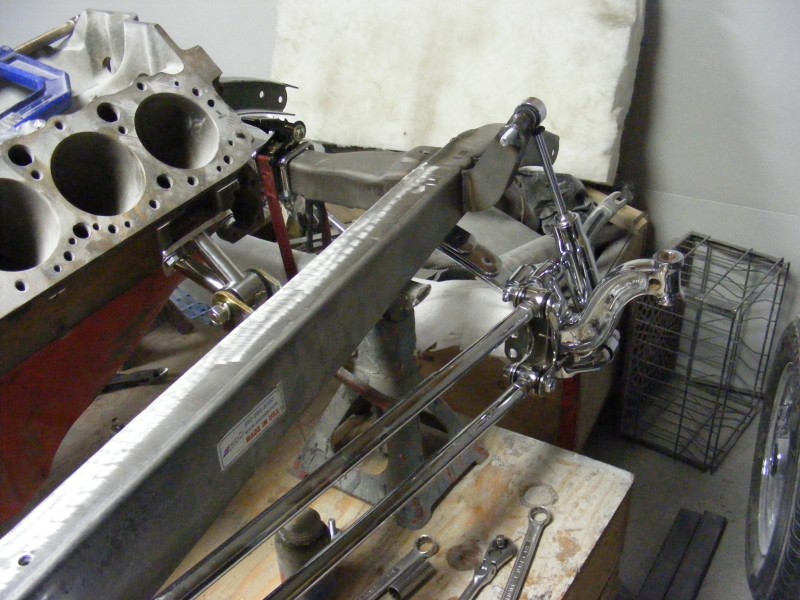
Front suspension can be Drop axle, or IFS. Drop axle can be 4-bar or hairpin, all of em get disc brakes. IFS has rack and pinion but I can get a rack for the drop axle as an option. It is a one sided deal made for cross steer that bolts onto the normal vega box mount.
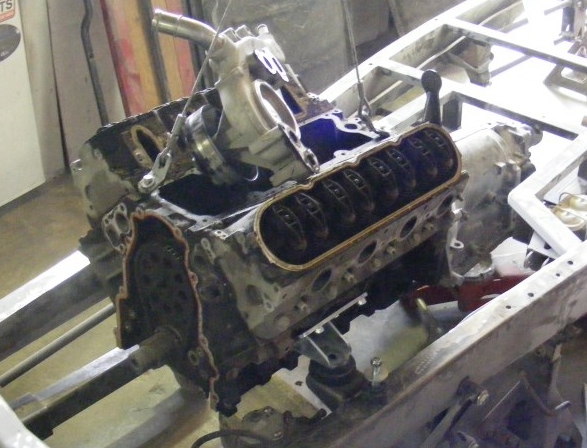
An aluminum radiator with support rods gets mounted with the grill shell and insert. Steering, brakes, suspension, motor mounts are just about it. The small block chev gets a polished stainless tubular type and there are different styles used with the other engines, depending on fit and ease of steering linkage/header design. This is a narrow frame and it can get pretty busy right there.
|
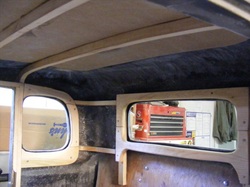
Once the floor and body are stuck together, and the plywood bulkhead is glassed in, the steel firewall can come out for the 'glass one to go into it's place. If there is any choppin to be done, it is done before the wood goes in. The next move is to cut and laminate the wood into the body around the door and window openings. The rafters go in and then the entire wood substructure is sanded and sealed with resin. All wood is laminated into the body to become one with the body shell.
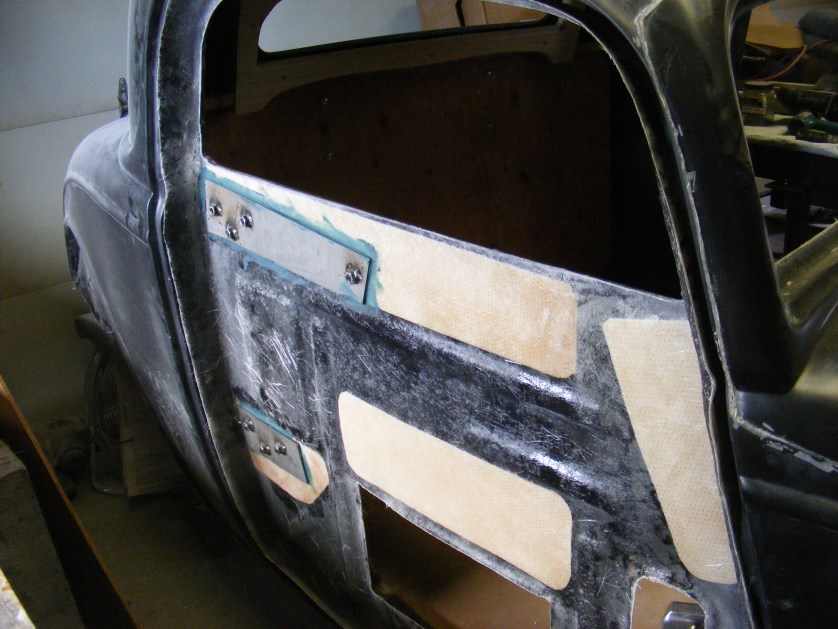
Doors are made the same way except that the inner cavity of it can be reached from the inside of the cab. The small screws line up the outer skin so that when the glass sets, the gaps are good and the skin is flush with the body. By building these components on the body, the fit is really good.
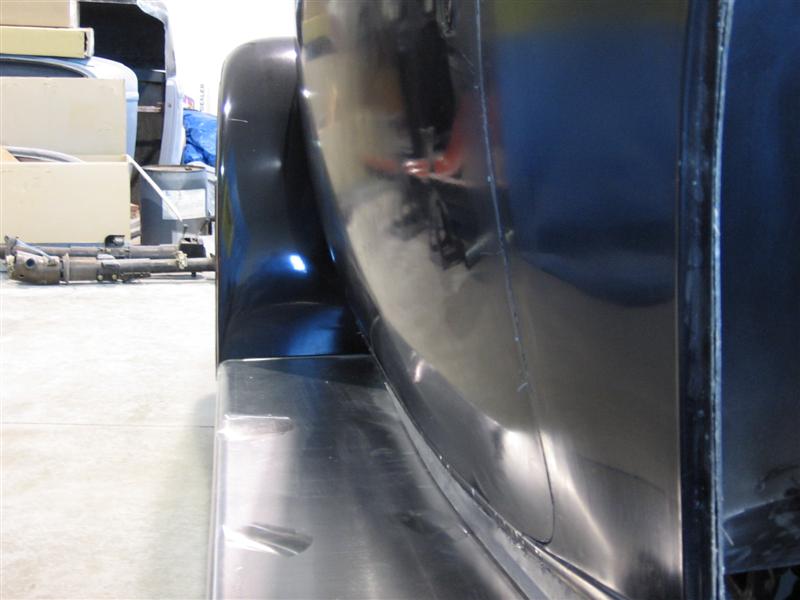
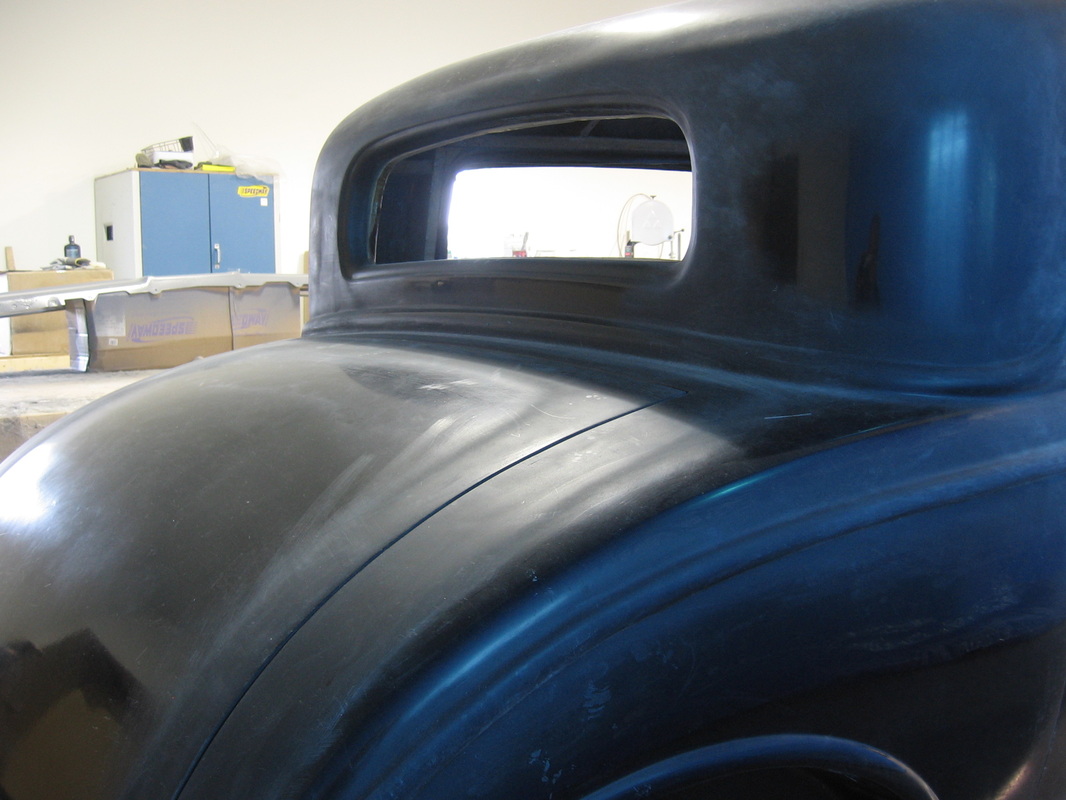
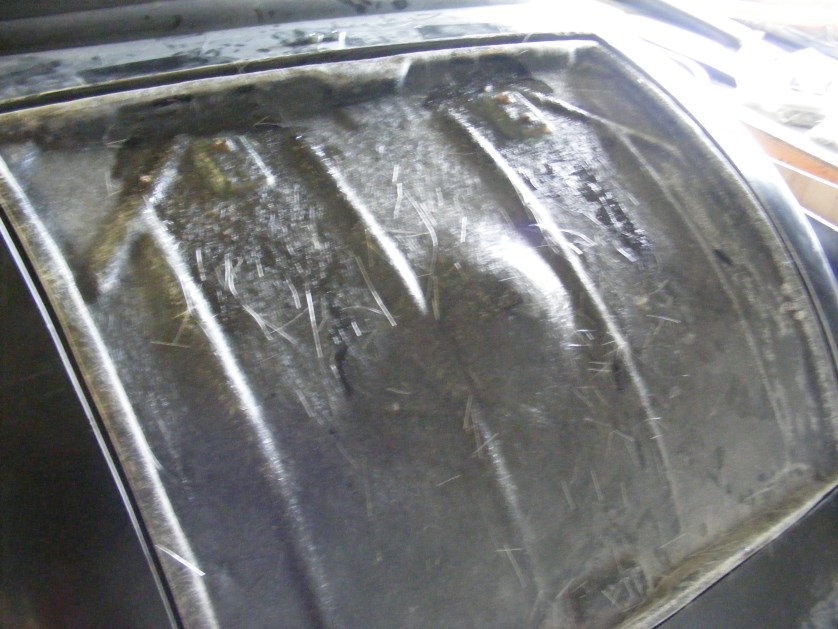
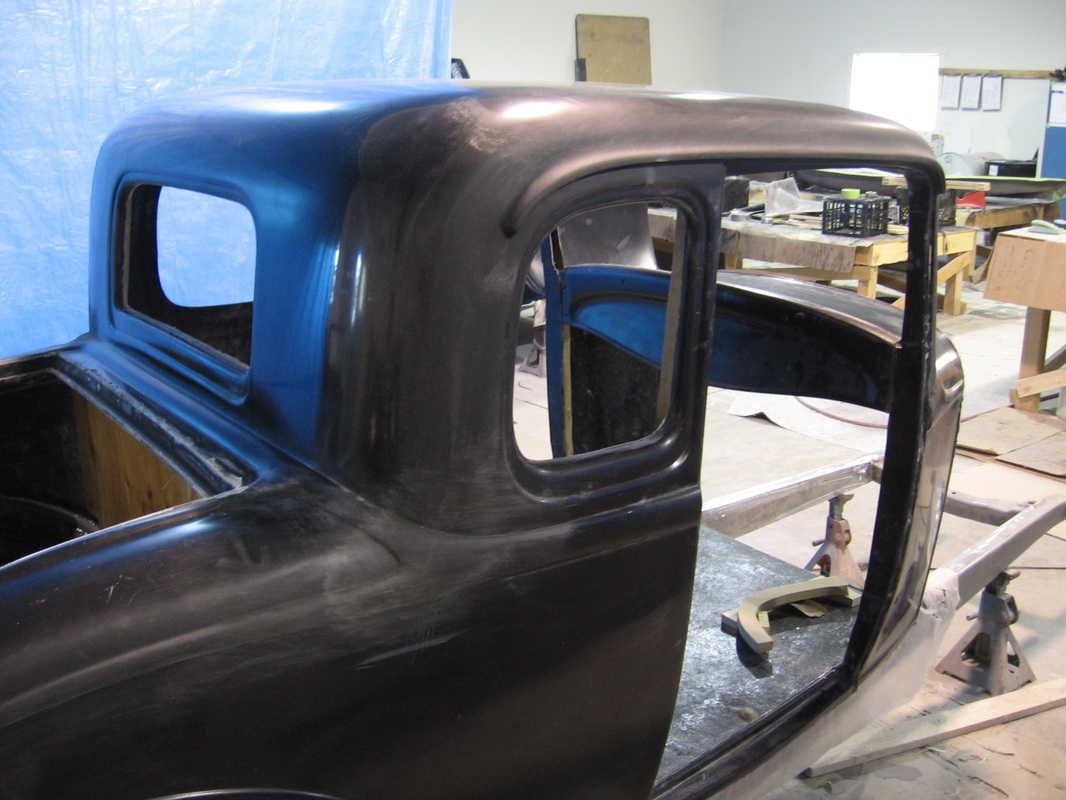
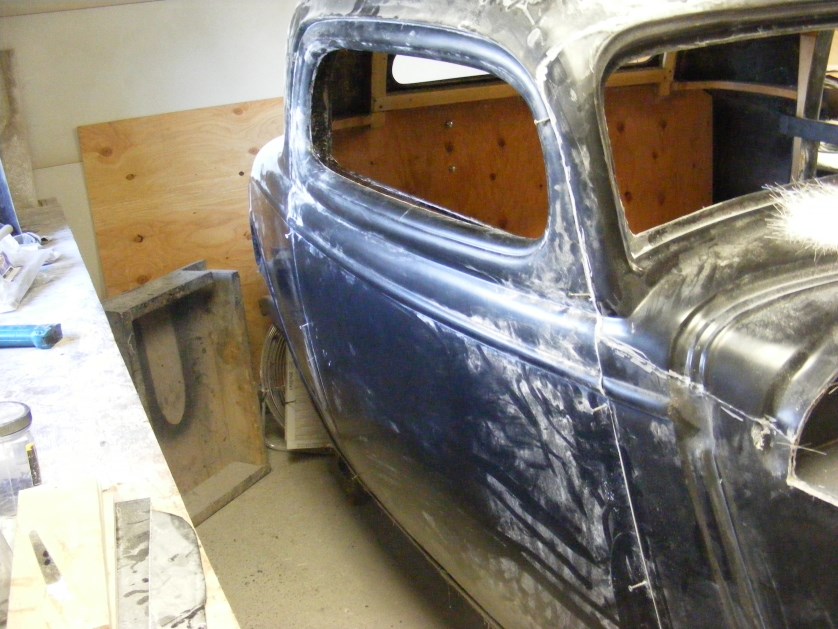
In between all this lamination, the body seams are cleaned up. The mold must be made of several parts that are bolted together to make the body. The seams where the mold is bolted together leaves an uneven surface and sometimes voids. Seams are unavoidable, the body has to be able to be removed from the mold and the mold must be made in pieces. I prefer to clean these up. They have to be there, but I don't like em to show. In the pic above, you can see the seam where the resin squirted through. Also, if the top has been chopped, there is a seam where the chop has been made. Gotta clean those up too. I like it when you can't tell where I cut it. The body at the left has been chopped an inch and a half and the deck lid has been fitted. The body guy will like this.
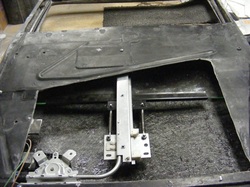
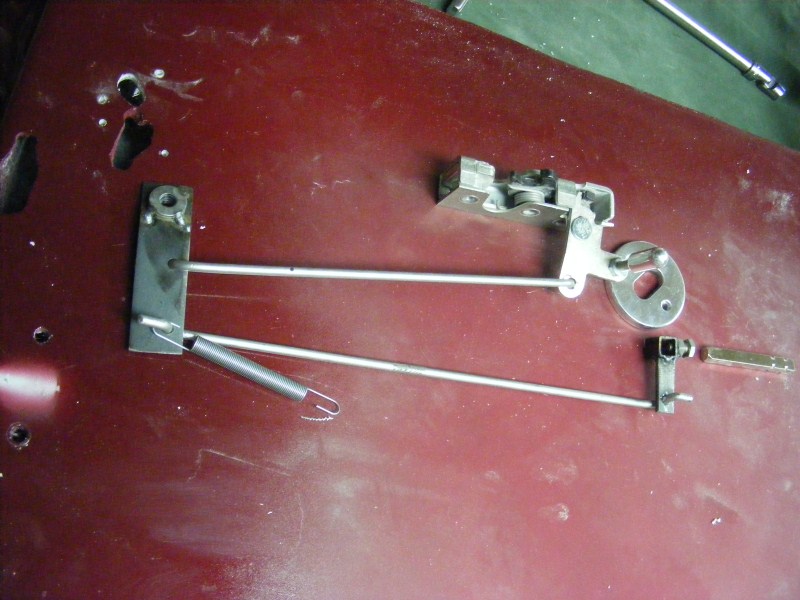
Next gotta put the windows and latches in the doors. I started installing windows in the doors of every body after realizing how much work it is. I want to make it easier for the customer and this can be frustrating. My window gear is totally removable and adjustable for travel and alignment. I use American made power window motors units, ball bearing motors and window channels that have felts that can be replaced, if they wear out.
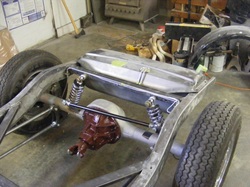
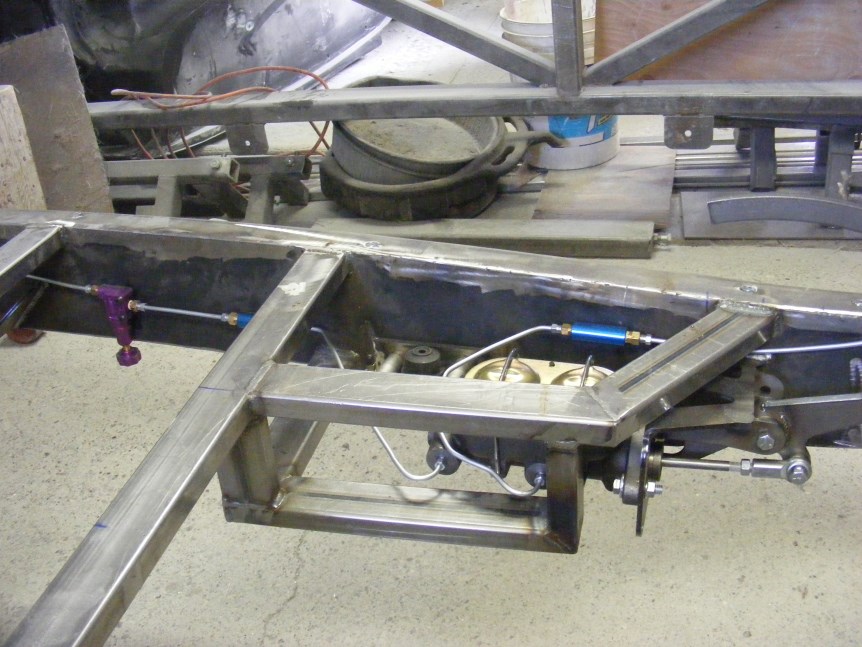
Now that the body is nearly finished, the chassis gets finished. Front and rear suspension, with disc brakes on all 4 corners. fuel tank, fuel lines and brake lines installed.
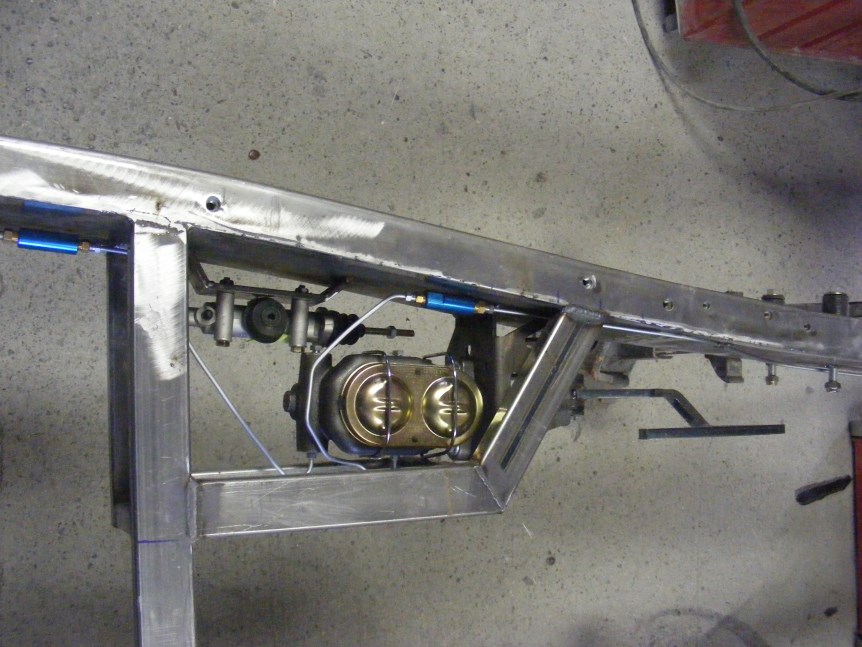
Brake lines are made to fit, bent, and clipped onto the frame with stainless clamps. The pedal assembly and master cylinder are mounted and an adjustable proportioning valve plumbed in. A power brake booster can be used, but not necessary on a car this light. I can also put a clutch pedal in with Wilwood hydraulic master cylinder.
|
|
|
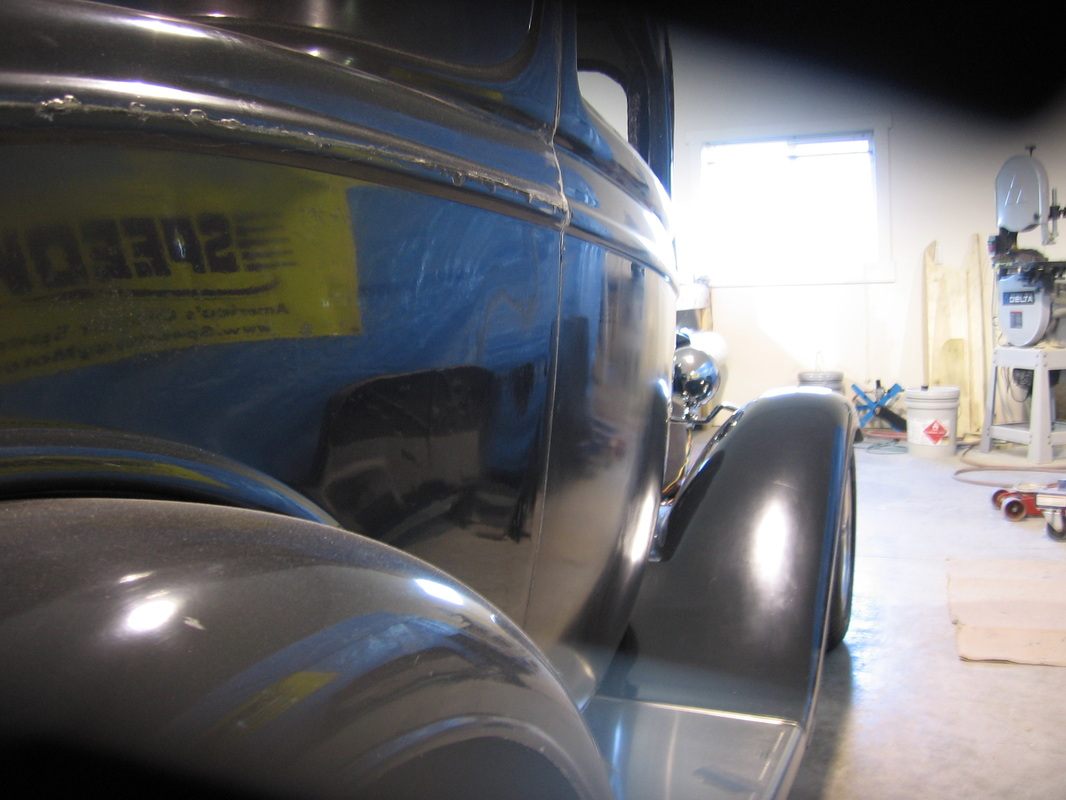
The body gets mounted back on, and fenders fitted, if it gets fenders. Customer wheels/tires or wreckin yard stock goes on to make it roll on a trailer or transporter for shipping. I prefer to pre-assemble the roller before it leaves my shop to assure everything fits. I don't like to send out boxes of parts and then get a call later that something is missing or does not fit. If you get it in one piece, you can see how it goes together.